

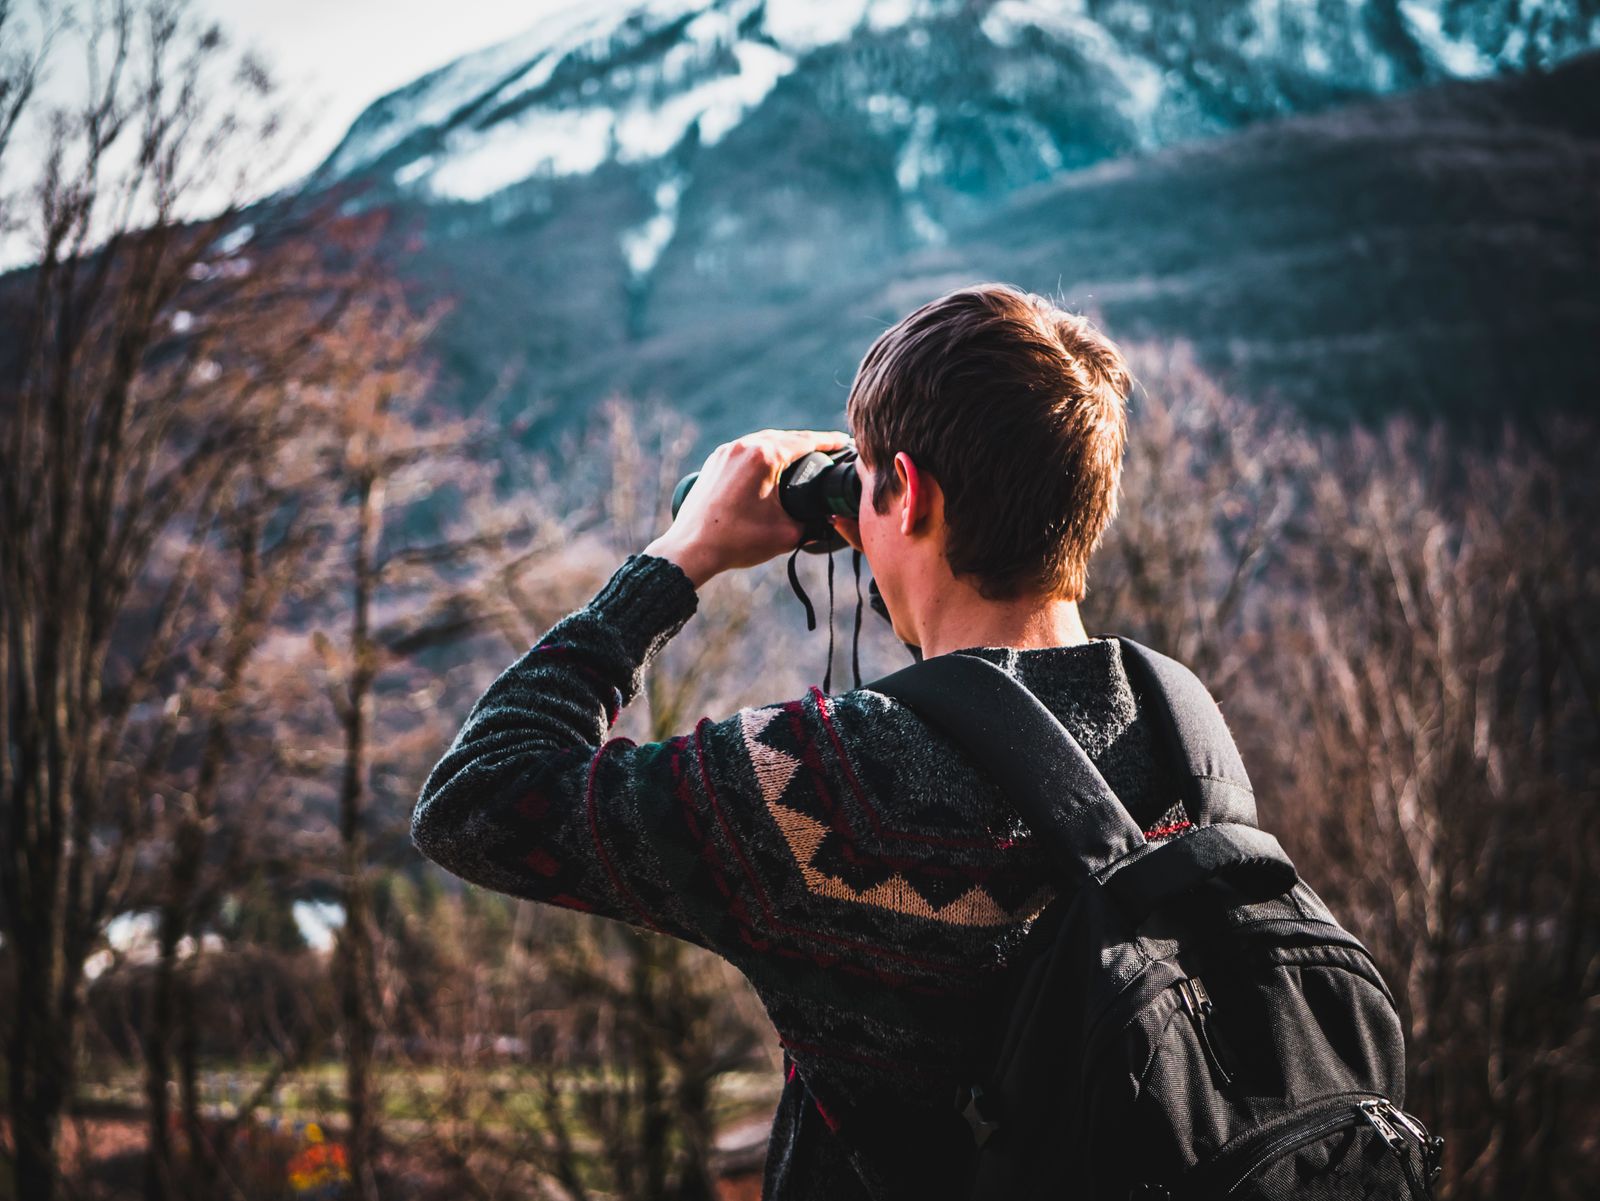
How to Choose Binoculars for Wildlife Viewing in 2026
Learning how to choose binoculars for wildlife viewing starts with understanding that no single pair suits every observer. A birdwatcher scanning a wetland, a hunter glassing a distant ridge and a family watching deer from a cabin porch all need different things. The right pair brings animals close without shaking, glare or eye strain, and it should be comfortable enough that you actually carry it.
This guide is written for American hikers, campers and casual naturalists. We explain the numbers printed on every binocular, compare common configurations, and show how wildlife binocular magnification, binocular field of view and portable binocular features work together. A comparison table, pros and cons, FAQ and a short checklist follow, so you can shop with confidence.
Before spending anything, decide where you will use the binoculars most often. Dense forest, open prairie and shoreline each reward a different balance of magnification and brightness, and a clear picture of your habitat will make every later choice easier.
Wildlife viewing is rarely a solo skill. Good gear, patience and a bit of planning matter just as much, and our guide to picking between a hard and a wheeled cooler will help you organise the rest of a long day at a trailhead or campsite.
Decoding the Numbers: 8×42 and 10×32 Explained
Every binocular carries two numbers, such as 8×42. The first is magnification: an 8x model makes a subject appear eight times closer. The second is the objective lens diameter in millimetres, which controls how much light enters the instrument. Larger lenses gather more light and perform better at dawn and dusk, when many animals are most active, but they add weight and bulk.
For most wildlife observers, 8×42 is the benchmark configuration. It balances brightness, a stable image and manageable weight. Compact 8×25 or 10×25 models are easier to pack but struggle in low light.
Wildlife Binocular Magnification: How Much Is Enough?
It is tempting to buy the highest magnification available, but more is not always better. Every increase in power amplifies hand shake, narrows the visible area and makes it harder to locate a moving animal. As a rule of thumb:
- 7x to 8x: ideal for forests, birding and general use; the image is steady and bright.
- 10x: a strong choice for open country, coastlines and mountain scanning, provided you can hold it steady.
- 12x and above: best used with a tripod or a stable rest, mainly for long-range glassing.
If you are new to optics, start with 8x. You can always move to 10x later once you know where you do most of your viewing.
Binocular Field of View and Why It Helps
Field of view describes how wide an area you can see at a set distance, commonly listed in feet at 1,000 yards. A wide binocular field of view makes it far easier to find a bird in a tree or follow a deer crossing a clearing. Lower magnification usually delivers a wider field, which is another reason 8x remains so popular.
Also check eye relief, the distance your eye can sit behind the eyepiece and still see the full image. Anyone who wears glasses should look for 15 millimetres or more, with twist-up eyecups that let you adjust comfortably.
Comparing Common Binocular Configurations
The table below summarises how popular sizes behave in the field. Use it to narrow your shortlist before you try anything in person.
| Size | Typical weight | Low-light performance | Best use |
|---|---|---|---|
| 8×25 compact | About 10 to 12 oz | Fair | Day hikes, travel, casual viewing |
| 8×32 | About 16 to 20 oz | Good | Birding, all-round use |
| 8×42 | About 24 to 28 oz | Very good | Wildlife, dawn and dusk viewing |
| 10×42 | About 25 to 30 oz | Very good | Open terrain, longer distances |
If you would like to compare several of these formats from one retailer, you can explore Cabela’s, which carries optics for hunting, birding and general outdoor use. For anyone building a full day-trip kit, our review of insulated travel mugs for coffee on the go covers another essential item for early morning viewing.
Portable Binocular Features Worth Paying For
Because you will carry your binoculars for hours, portable binocular features are not a luxury. Consider the following:
- Weight and balance: anything over about 30 ounces becomes tiring on a neck strap; a harness distributes the load.
- Waterproof and fogproof construction: nitrogen or argon purging prevents internal fogging when temperatures change.
- Rubber armour: improves grip and protects against knocks on rocks and truck doors.
- Close focus distance: useful for butterflies and nearby birds; look for 6 feet or less.
- Lens coatings: fully multi-coated optics increase brightness and colour accuracy.
- Roof prism design: typically slimmer and more compact than porro prism models.
Prism type affects both size and price. Roof prisms are streamlined and rugged but cost more to build well, while porro prisms often deliver excellent depth and brightness at lower prices in a wider body. Neither is inherently superior.
How to Test Binoculars Before You Buy
Whenever possible, try before you commit. Look at a distant sign or a branch and check for sharp edges across the entire image. Colour fringing, dim corners or a blurry edge suggest weaker optics. Adjust the diopter so that both eyes focus together, and verify that the hinge holds its position when you set interpupillary distance. Hold the binoculars at arm’s length and look into the lenses: a round, bright exit pupil means good alignment.
When shopping online, choose a seller with a clear return policy. A dependable starting point is Cabela’s, where product pages list magnification, field of view and weight so you can compare quickly.
Pros and Cons of Choosing Higher Magnification
Pros
- Brings distant animals closer without disturbing them
- Reveals fine detail such as plumage and markings
- Useful in open habitats like plains, lakes and coasts
Cons
- Greater image shake without a rest or tripod
- Narrower field of view makes tracking harder
- Often heavier and dimmer in low light
Quick Checklist for Wildlife Viewers
- Start with 8×42 unless you have a specific reason to change.
- Prioritise a wide field of view and comfortable eye relief.
- Pick waterproof, fogproof construction for unpredictable weather.
- Keep total weight below 30 ounces for all-day carry.
- Test image sharpness at the edges before purchasing.
FAQ
Q1: What is the best magnification for wildlife viewing?
Most observers do well with 8x or 10x. An 8x model offers a steadier image and wider field, while 10x helps in open country where animals are farther away.
Q2: Is 8×42 or 10×42 better for beginners?
8×42 is generally easier for beginners. The image is more stable, the field of view is wider, and finding moving animals takes less practice.
Q3: Do I need waterproof binoculars?
Yes, if you spend time outdoors in changing weather. Waterproof, nitrogen-purged binoculars resist rain, dust and internal fogging, which keeps the view clear on cold mornings.
Q4: How much should I spend on binoculars?
Decent entry-level pairs start around $100 to $200, with strong mid-range options between $300 and $600. Spend more only if you view in low light often or need exceptional edge sharpness.
Conclusion: Match the Optics to Your Habitat
The simplest way to decide how to choose binoculars for wildlife viewing is to think about where and when you watch. Dense woods and dawn patrols favour an 8×42 with a wide field of view, while open landscapes may justify 10x. Weigh portability against light-gathering power, check eye relief if you wear glasses, and test the image edge to edge. When you are ready to compare models, Cabela’s is a convenient place to start, and our guide to choosing the right camping cooler size will round out your next outdoor plan.




Leave feedback about this