

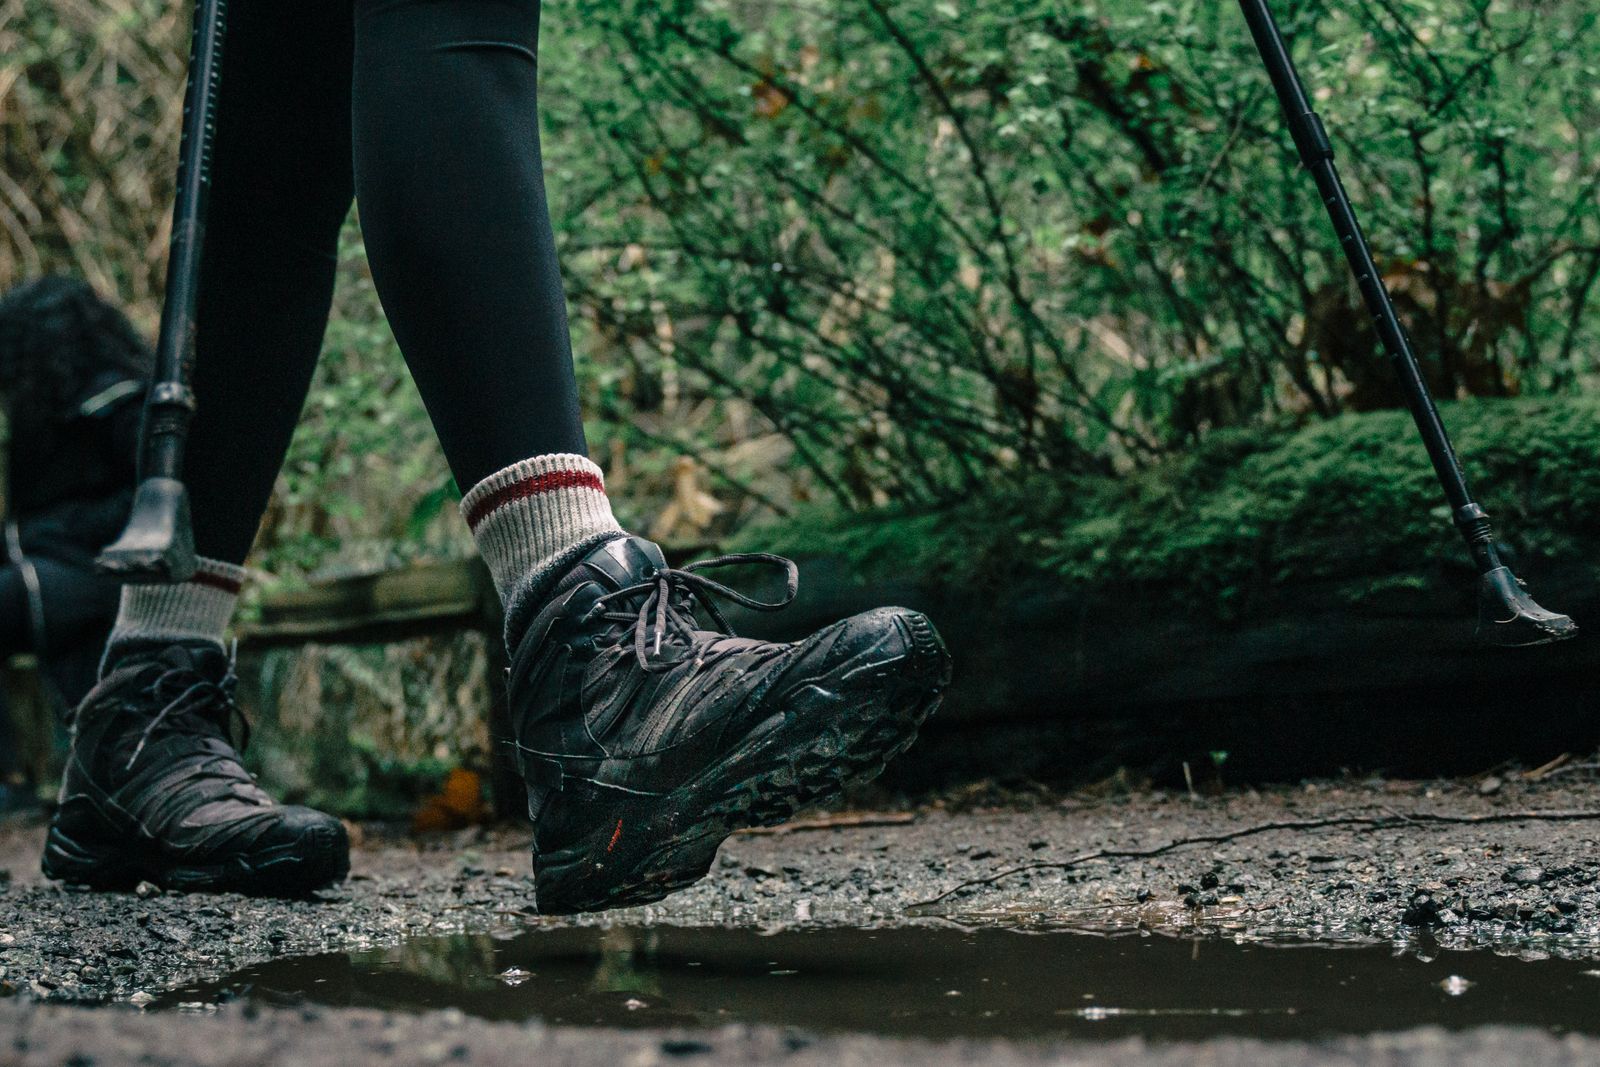
How to Choose Waterproof Hiking Boots: 2026 Fit Guide
Knowing how to choose waterproof hiking boots can be the difference between a comfortable day on the trail and a miserable one spent nursing blisters in wet socks. Footwear is the single most important piece of hiking equipment, because every other decision, from pack weight to route length, depends on how your feet feel after the first few miles. This guide explains the features that matter, how to judge fit, and how to match a boot to the terrain you actually plan to cover in the United States.
Waterproof boots are not simply “better” boots. They trade some breathability for protection from rain, creek crossings, morning dew and slush. For many American hikers, particularly in the Pacific Northwest, the Appalachians and the Rockies, that trade-off is well worth making. For hot desert hikes, however, a non-waterproof, ventilated shoe may serve you better. The goal of this article is to help you decide with confidence rather than guess in the shop.
We cover waterproof boot fit, hiking boot traction and outdoor boot materials, followed by a comparison table, pros and cons, a short FAQ and a practical conclusion. Read on to build a simple checklist you can take with you when you try boots on.
If you are also planning the rest of your trip kit, our guide to choosing a soft or hard cooler for day trips pairs well with this one, since food storage and footwear are the two decisions most hikers get wrong first.
What Makes a Hiking Boot Waterproof?
Most waterproof hiking boots rely on an internal membrane, a thin layer sandwiched between the outer fabric and the lining. The membrane has pores small enough to block liquid water but large enough to let water vapour escape. Brands use proprietary membranes or the widely known Gore-Tex laminate, and the principle is the same: keep rain out while letting sweat out.
The membrane is only part of the system. A waterproof boot also needs a sealed tongue (a gusseted tongue attached to the upper on both sides), a protective rand around the base, and tightly stitched or bonded seams. Weak points are usually the tongue gusset and the flex creases near the toe. When you inspect a boot, look for a full-length gusseted tongue and minimal stitching on the lower upper.
It also helps to remember that waterproofing wears out. Leather needs periodic conditioning, and fabric uppers lose their durable water repellent finish over time. A boot that beaded water in its first season may soak through in its third unless you clean and re-treat it.
Waterproof Boot Fit: The Step That Matters Most
No feature compensates for a poor fit. A boot that is too loose lets your heel lift, causing friction and blisters, while a boot that is too tight cuts circulation and bruises toenails on descents. Use these checks every time you try on a pair:
- Shop in the afternoon. Feet swell during the day and further on the trail, so late-day sizing mimics real conditions.
- Wear your hiking socks. Bring the exact socks you hike in, ideally mid-weight merino or synthetic, never cotton.
- Leave a thumb’s width at the toe. Kick the toe against a hard surface with the laces tight; your toes should not touch the front.
- Check heel hold. Walk up an incline ramp. The heel should lift no more than about a quarter inch.
- Test the downhill. On a downward ramp, your toes should stay clear of the front and the midfoot should feel secure.
Width matters as much as length. Many manufacturers offer wide and narrow options, and trying a half size up in a waterproof boot is common because the membrane lining adds a little volume to the interior structure. If you are shopping online, a reputable retailer with an easy returns policy is essential. For a broad range of outdoor footwear and return-friendly service, you can try Cabela’s, which stocks hiking boots across several price tiers and widths.
Hiking Boot Traction and Outsole Design
The outsole is your connection to the ground. Look at lug depth, lug pattern and rubber compound. Deeper lugs, typically 4 to 5 millimetres, bite into mud and loose soil. Widely spaced lugs shed mud instead of clogging, while a defined heel brake, an angled edge at the back of the heel, helps on steep descents.
Rubber compound is the quieter variable. Softer rubber grips wet rock well but wears faster, whereas harder rubber lasts longer on gravel and fire roads. Many popular outsoles use a dual-density compound to balance both. If you hike mostly on wet granite or slick roots, prioritise a sticky compound; if you log hundreds of miles on maintained trails, prioritise durability.
Outdoor Boot Materials Compared
Uppers fall into three broad groups: full-grain leather, split leather with fabric panels, and synthetic or knit fabrics. Each behaves differently in the field, and the right choice depends on load, climate and how long you want the boots to last. The table below summarises the key differences.
| Material | Weight | Durability | Break-in time | Best for |
|---|---|---|---|---|
| Full-grain leather | Heavier | Excellent, repairable | Longer | Backpacking with heavy loads, rough terrain |
| Split leather and fabric | Medium | Good | Moderate | Day hikes and weekend trips |
| Synthetic or knit | Lightest | Fair | Minimal | Fast hiking, warm weather, light packs |
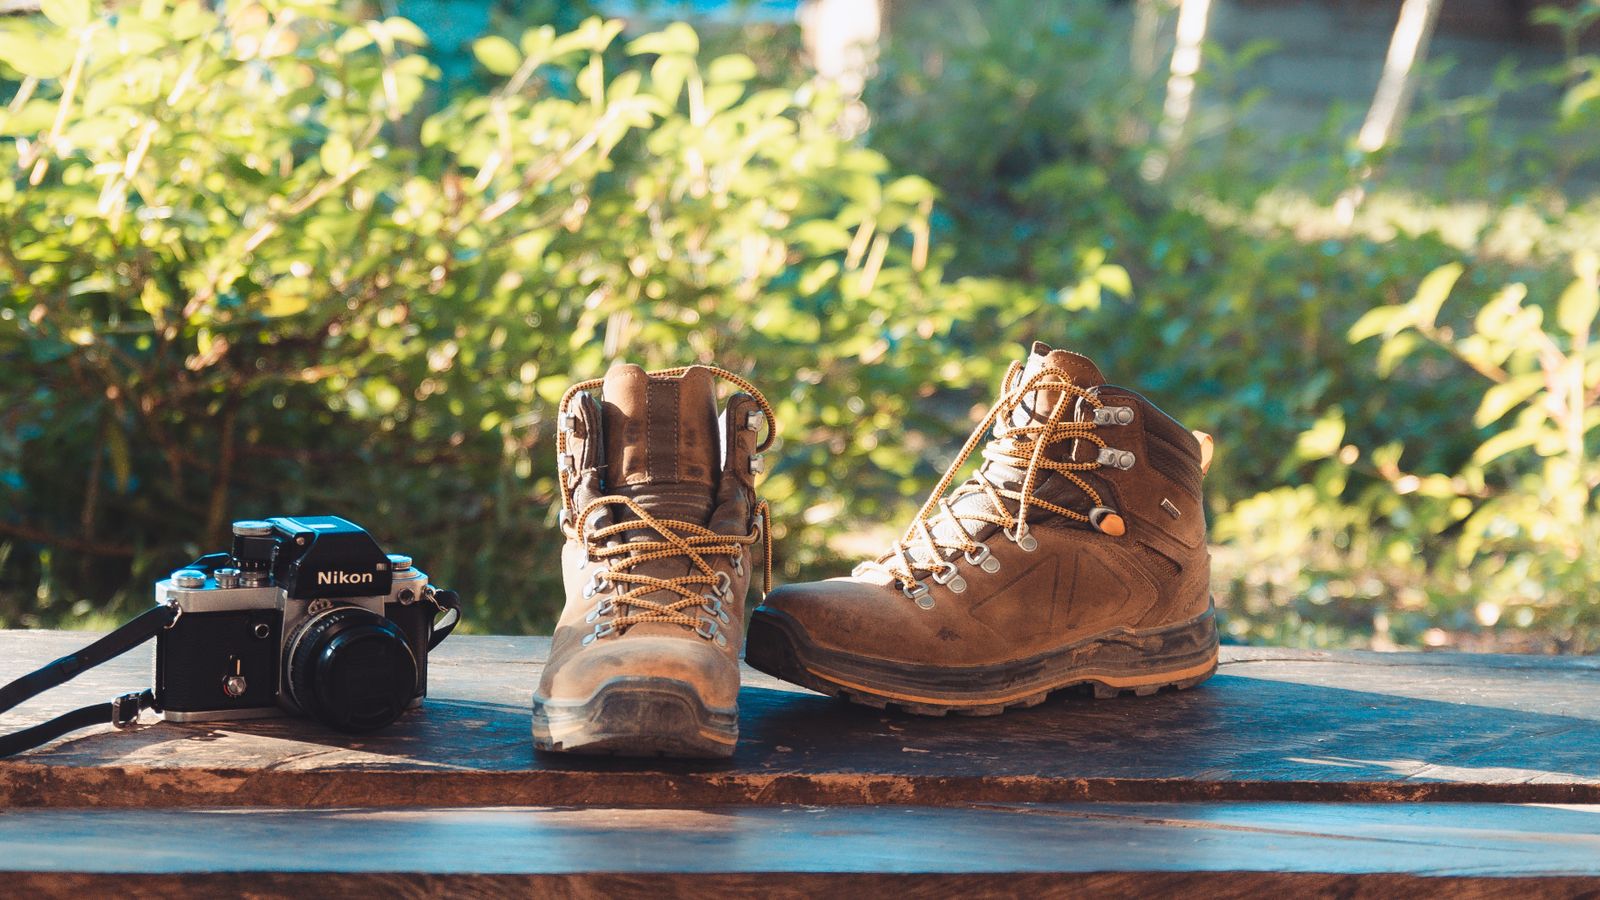
If you want one boot that does most things, a split-leather and fabric model with a membrane is a sensible starting point. A trusted option to compare across materials is Cabela’s, where you can filter by waterproofing, height and insulation. Those planning more remote overnight trips may also want to review our guide to the best hard cooler for camping so that food and footwear are both sorted before you leave.
Choosing Boot Height and Stiffness
Low-cut shoes are light, but mid and high-cut boots add ankle support and keep debris and shallow water out. For day hikes on maintained trails with a light pack, a mid-cut boot is usually the sweet spot. For off-trail travel or loads above roughly 30 pounds, step up to a stiffer, higher boot.
Stiffness is judged by flexing the boot. A softer midsole feels comfortable immediately but offers less protection on rocky ground. A stiffer midsole shields the foot from stone bruising and reduces fatigue on long days, although it takes longer to break in. Match stiffness to your pack weight and terrain rather than defaulting to the stiffest option.
Pros and Cons of Waterproof Hiking Boots
Pros
- Protection from rain, puddles, wet grass and light stream crossings
- Warmer feet in cold, damp conditions and shoulder seasons
- Added durability from reinforced uppers and rands
- Helpful when gaiters are used in snow or mud
Cons
- Reduced breathability, which can make feet hotter in summer
- Slower drying once water enters over the top of the boot
- Typically higher cost and slightly more weight
- Waterproofing degrades without regular care
Key Takeaways Before You Buy
- Prioritise fit over features; a perfect membrane cannot fix a loose heel.
- Match traction to terrain: deep lugs for mud, sticky rubber for wet rock.
- Choose materials by load and climate, not by marketing claims.
- Break boots in for at least 20 to 30 miles before a major trip.
- Clean and re-treat waterproofing at least once a season.
FAQ
Q1: Are waterproof hiking boots worth it for summer?
It depends on the region. In humid or rainy areas, waterproof boots keep feet drier through wet grass and surprise storms. In hot, dry climates, a breathable non-waterproof shoe is often more comfortable because it vents heat and dries quickly.
Q2: How tight should hiking boots be?
They should feel snug around the heel and midfoot with about a thumb’s width of space at the toe. If your heel lifts more than a quarter inch on an incline, the boot is too large or the lacing needs adjusting.
Q3: How long do waterproof hiking boots last?
With regular cleaning and care, quality boots commonly last 500 to 1,000 miles. Leather models can often be resoled, while lightweight synthetic boots tend to wear out sooner.
Q4: Do I need to break in waterproof boots?
Yes. Even modern lightweight boots benefit from a few short walks first. Leather boots may need 20 to 30 miles of use before they mould to your foot, so start with short outings.
Conclusion: Build Your Own Boot Checklist
Learning how to choose waterproof hiking boots comes down to a handful of checks: a secure fit, appropriate traction, suitable materials and a realistic view of where you will hike. Try boots on in the afternoon with your own socks, test them on inclines, and be honest about how much breathability you need. When you are ready to browse, Cabela’s offers a wide selection to compare side by side. Before your next trip, you may also want to read about sizing a hard cooler for camping trips, then lace up and get outside.







Leave feedback about this